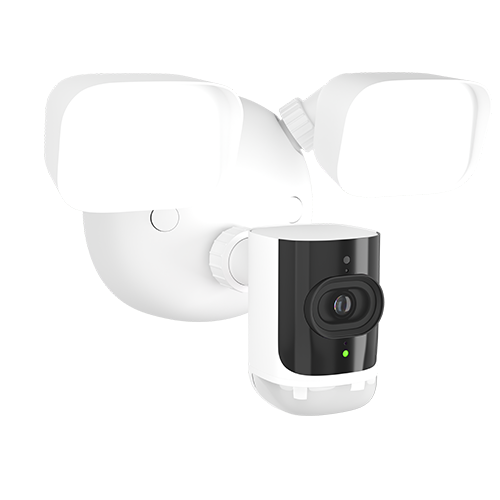
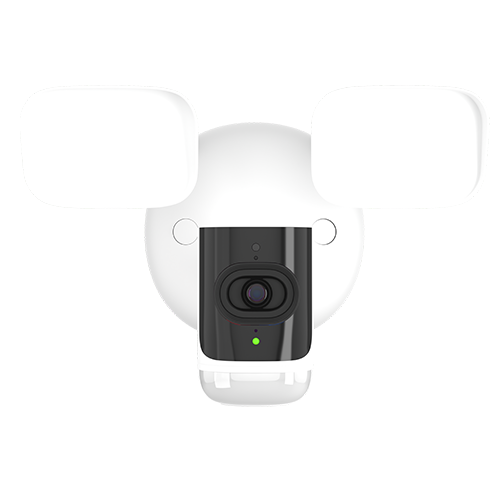
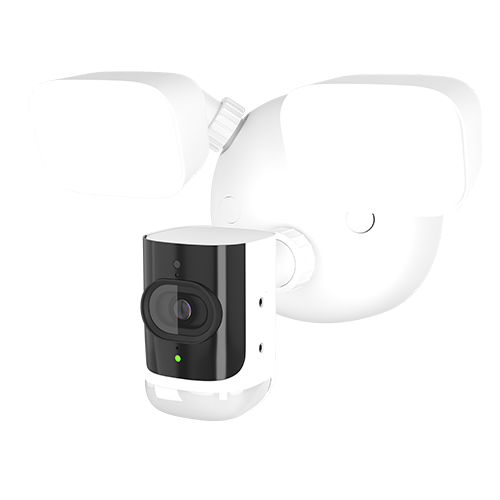
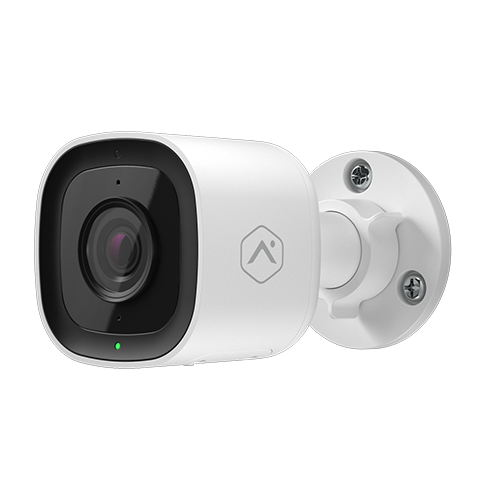
Outdoor Floodlight Camera
This AI-powered camera reduces false alarms by distinguishing people, animals, and vehicles. Bright LED floodlights deter intruders, while two-way audio enables real-time communication. Customizable motion detection focuses on key areas, and Perimeter Guard™ adds strobing lights for extra security. Automatic updates ensure optimal performance.
Features:
- Video Analytics
Advanced AI-driven technology for smarter surveillance. - Powerful Floodlights
Bright LED floodlights to illuminate large areas and deter intruders. - Two-Way Audio
Built-in microphone and speaker for real-time communication. - Motion Detection
Advanced motion detection triggers alerts and recordings. - Perimeter Guard™
Automated deterrents with lights and customizable alerts. - 24/7 Recording
Continuous recording with secure storage for playback. - Automatic Software Updates
Delivers the latest features for enhanced performance.
Each Guardian System Includes:
Free Professional Installation
24/7 Professional Monitoring
Smart Security Panel
Mobile App
Advanced Video Analytics
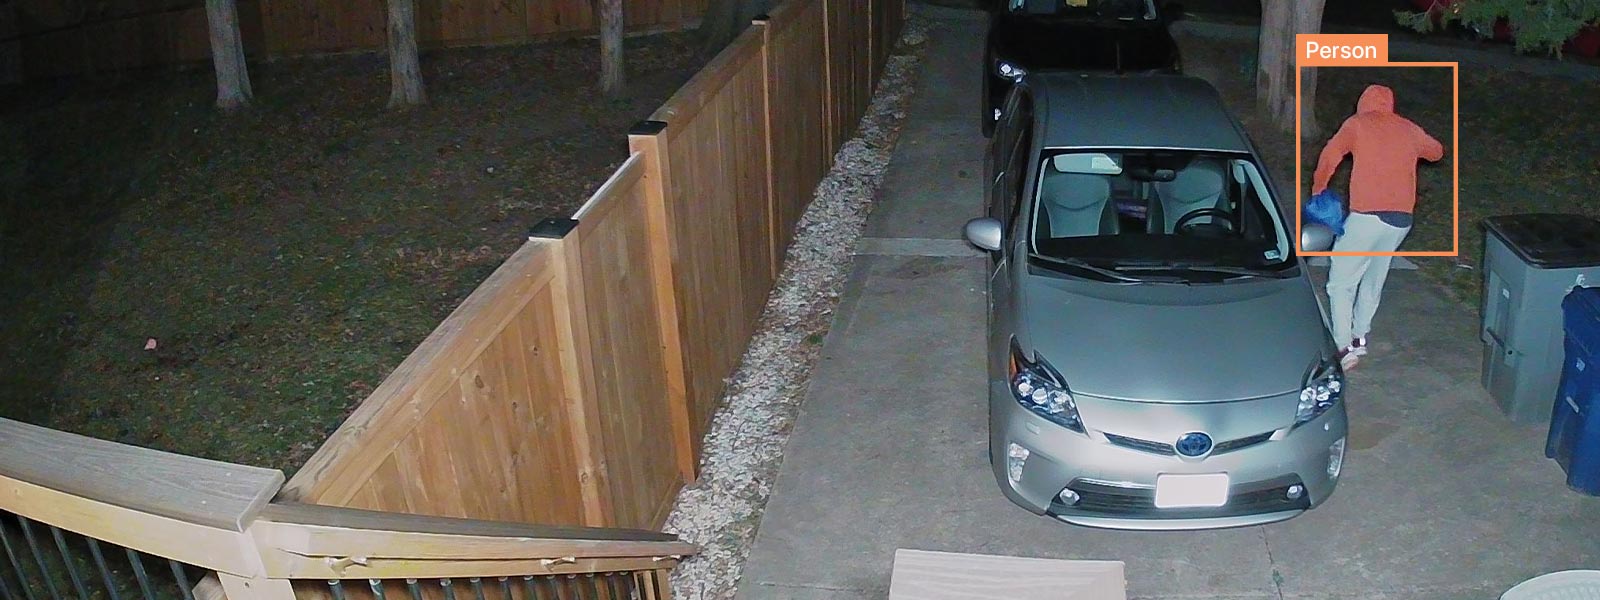
The floodlight camera utilizes advanced AI-driven video analytics for smarter surveillance. This technology can differentiate between people, animals, and vehicles, reducing false alarms and ensuring that you receive accurate notifications about significant events on your property.
Powerful Floodlights
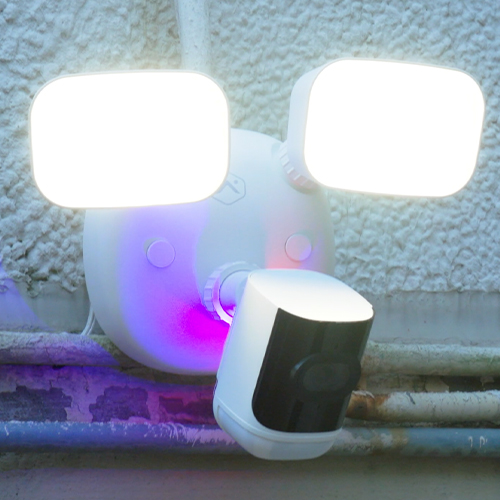
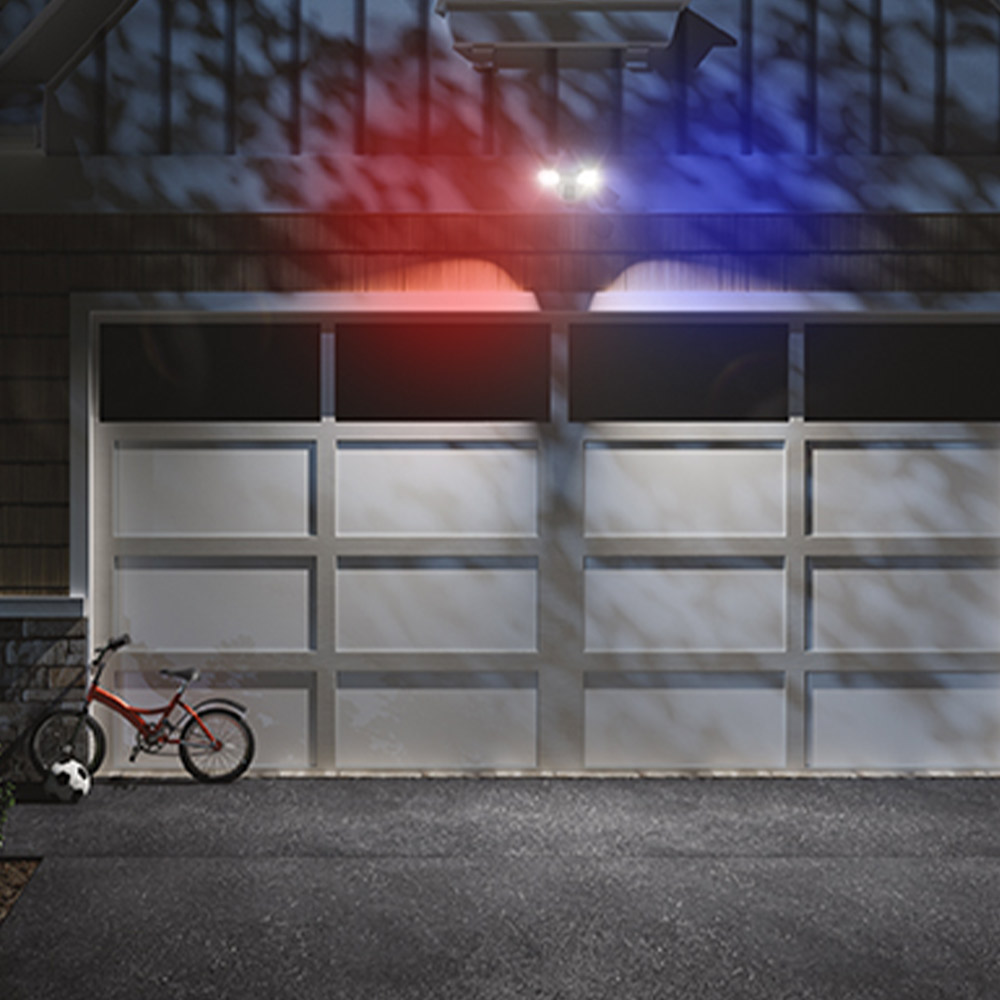
Equipped with bright LED floodlights, it can illuminate large areas to deter potential intruders and provide visibility in low-light conditions. The powerful floodlights enhance security by lighting up dark corners and pathways around your property.

Two-Way Audio
Communicate in real-time with visitors or potential intruders using the built-in microphone and speaker. The two-way audio feature allows you to greet guests, provide instructions, or warn off trespassers, adding an extra layer of security and convenience.

Motion Detection
The floodlight camera features advanced motion detection technology. It automatically triggers alerts and starts recording when motion is detected, ensuring that you’re promptly notified of any suspicious activity. Customize motion detection zones to focus on specific areas of interest.
Perimeter Guard™
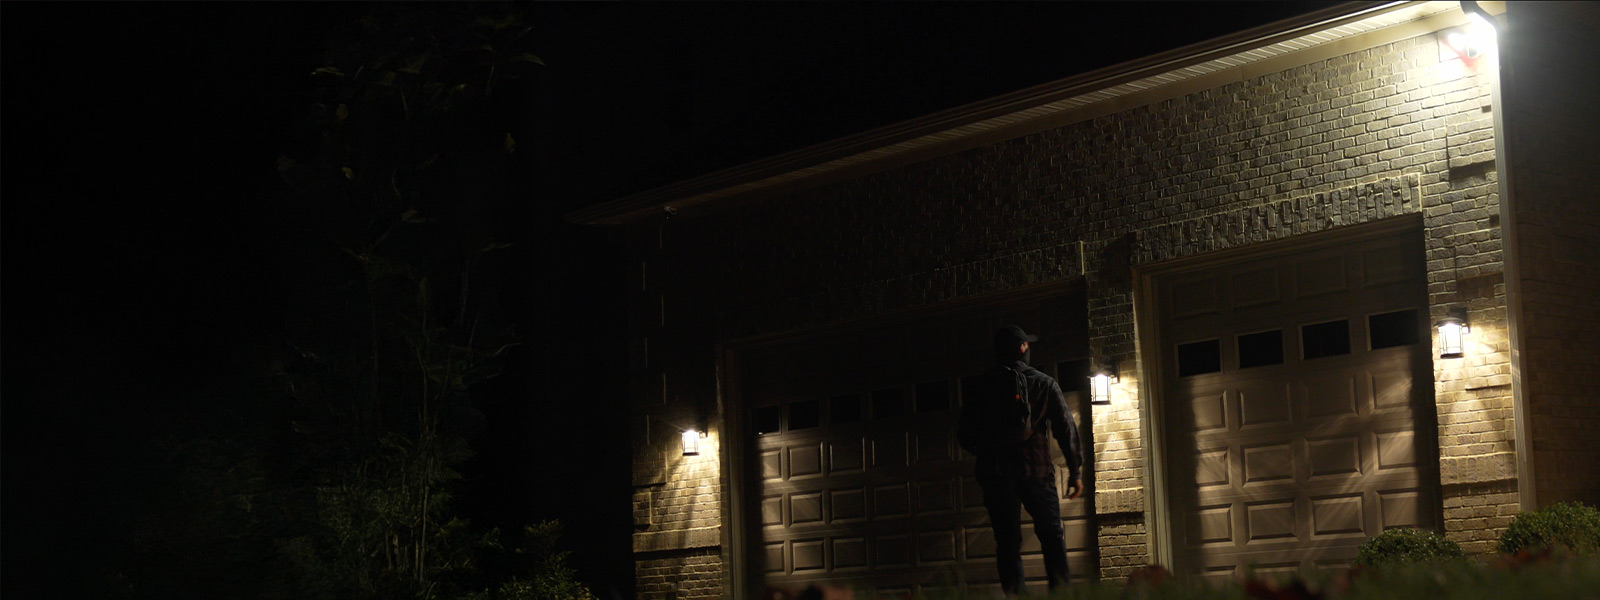
Enhance your property’s security with Guardian’s Perimeter Guard™. This feature utilizes automated deterrents to warn off potential intruders with powerful strobing floodlights, flashing red/blue warning lights, and a powerful speaker.
Our Devices Work Better Together

Get Smart Home Security
Create a custom home security system based on your home and family’s needs.
Start with a Home Security Package
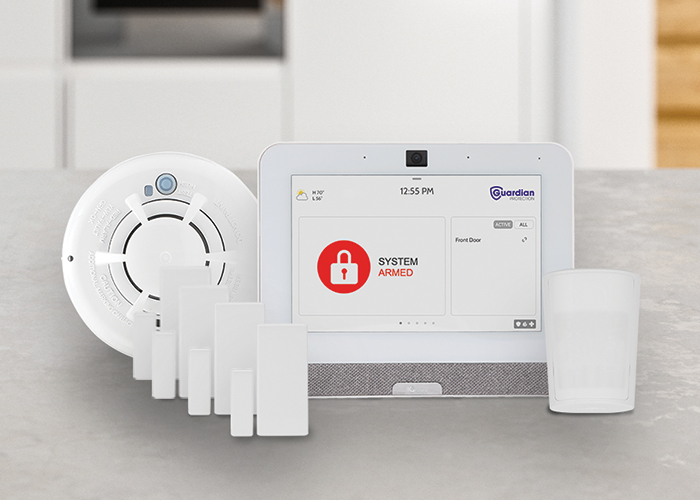
Browse our home security packages to easily find the right fit for your property.
Specs

Image sensor:
4MP 1/2.7″ format
Recording resolution options:
Up to 2688 x 152
Diagonal Field of View:
141 degrees
Recording Compression:
H.264
Horizontal Field of View:
117 degrees
Wi-Fi:
Dual-band 802.11 b/g/n/ac 2 x 2
Live resolution options:
Up to 2688 x 1520
Vertical Field of View:
62 degrees)
Frequently Asked Questions
Is an outdoor camera fully wireless?
No. It is wireless in that it doesn’t require running a wire directly to your router, unlike traditional hardwired cameras. But even though the cameras work on your WiFi, Guardian will still need to run a wire for power to an AC outlet. Your professional installer will walk you through how this works.
Do home security cameras require WiFi?
Home security cameras require WiFi if they are wireless because they need to connect to your internet to work. Typically, a minimum 2 Mbps upload and download speed is required at the video camera mounting location. Also, you can check your internet speed with a tool such as speedtest.net. Learn more about security cameras and boosting your WiFi signal on our blog.
Can the outdoor camera record 24/7?
It sure can. With this camera, you can locally record video onto a microSD card and view footage from anywhere.
Does the outdoor camera have a siren?
Yes, and it’s a great deterrent for anyone entering your property who shouldn’t be there. You can set up a custom rule that tells the camera to sound an alarm and blink its LED light when a person enters a predetermined area.

